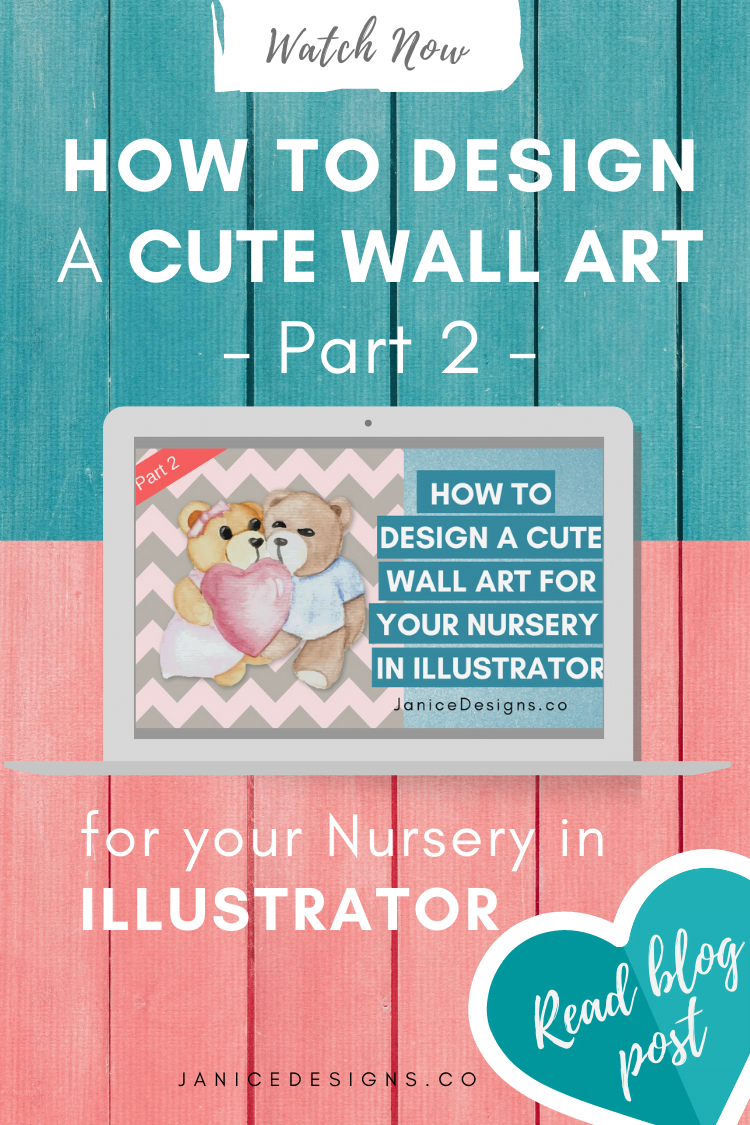
This is part 2 of How to design a cute wall art for your baby’s nursery.
So lets get into it!
- First, open your Illustrator program or if you are just getting started, you can purchase a plan or trial your free 30 Day here.
- Once you’ve installed and run the program, go to File > New > Insert width and height to 210x210mm or any dimensions you prefer. > Click OK
Now, you are ready to create your project!
- First, lets find any design resources you have to place into the art board. In this tutorial, we are using the Hopeless Romantic Toolkit. Click File > Place > (Find an image you want) > Click ‘Place‘
- I brought in the original Teddy Bears (the same one) over into the art board. Arrange the images to your liking.
- To create the zig zag lines, first create a straight line across your art board using the Line Segment Tool (\) on the left panel. Use the Shift key as you create your line so it will be a 100% straight line. Make sure you select the stroke not fill (you can find this on the bottom of the left hand side panel), insert a colour and increase the stroke size to 3-4 pts so you can see it better.
- Then click on your stroke, go to Effect > Distort & Transform > Zig Zag.
- Under the Zig Zag tool box, adjust to the size you want. For this tutorial, you can adjust the size to 9.53mm and Ridges per segment to about 12. Select ‘Corner’ under Points option. Click OK.
- You can then increase the stroke size to 40 points and stretch the stroke to your desired outcome.
- To convert the stroke into a path, select Object > Path > Outline Stroke.
- To duplicate the zig zag path, click Alt to duplicate. Then at the same time, together click Shift and bring the zig zag path downwards. You will notice the path is duplicated. Then select the zig zag path you’ve just duplicated, and on your keyboard select Ctrl + D a few times (to duplicate the last action) a few times until they cover the whole art board. Group the paths together and aligned vertically and horizontally to center.
- To change its colours, go to your swatches panel, click the small arrow on the right of the panel and go to Open Swatch Library > Color Books > Pantone+ Pastels + Neons UnCoated. Select the grouped zig zag paths, and select the colour you want from the pastel colour panel you’ve just opened.
- Create a box for the background colour by selecting the Rectangle tool (M) and make sure you cover the entire art board size. Use the pastel colour panel to change to your desired colour.
- Place the Teddy bears in the middle. Create a dropshadow for your bears so your teddy bears stand out a little more. Select your teddy bears and go to Effect > Stylize > Dropshadow. I advised to choose ‘brown’ colour to blend with the teddy bears as ‘black’ is a little too dark and overpowering. Set the X and Y offset to 1mm and Blur to 1.76mm and click OK.
- To mask the whole image so the zig zag lines will not be seen around the artboard, is by selecting the Rectangle tool (M) and make sure the rectangle you’re creating is covering the entire art board size. Select everything and hit Ctrl+7 on your keyboard.
- Here are some helpful shortcuts for you to use. If you’re using a Mac, replace Ctrl with CMD key:
- To group an object = Ctrl G
- To ungroup an object = Ctrl + Shift + G
- To lock an object = Use keys Ctrl+2
- To unlock an object = Ctrl + Alt + 2
- Bring object to front = Ctrl + Shift + ]
- Send object to back = Ctrl + Shift + [
- To mask an object = Ctrl + 7
- To unmask an object = Ctrl + Alt + 7
To use the image for your projects, follow these steps:
- Export as image (File > Export > Name your file and under Save as type: JPG or PNG (usually for transparent background) > Save.
- Under Image/JPG options > Color Model: RGB > Quality 10 > Resolution 300 DPI > Click ‘OK’.
- Your image is now saved!
To upload it on the web, follow these steps:
- Export as image (File > Export > Name your file and under Save as type: JPG or whatever suits you > Save.
- Under Image/JPG options > Color Model: RGB > Quality 7 and above > Resolution 72 DPI > Click ‘OK’.
- Your image is now saved! Or take a screenshot and upload it online!
There you have it!
An easy cute wall art designed in Illustrator :).

Remember to subscribe to my channel to follow my future tutorials!
I hope you’ve learned something and you like this tutorial. Do leave a comment below if you have any questions or suggestions so I can improve on my future tutorials.
If you like this free printable, you’ll love the Inspired Printables Club! If you want more printables like this, join the club!
Printables, design elements, graphics and any digital products provided on this site are for personal use only. You may NOT modify them or redistribute them for free or monetary gain without the written agreement from the author, Janice Banks. You may share these with your classes or co-workers (educators/teachers/tutors) as long as they are not modified in any way. Please share the link to the blog post if you want to share these digital resources with others.


Leave a Reply