Today I want to show you how simple it is to make a beautiful prayer card from home.
Before you start, make sure you download this free prayer printable of the Miracle prayer here.
Make a Beautiful Prayer Card From Home

Here’s What You Need
- A free prayer printable
- Adobe Reader / Adobe Acrobat (installed in your PC/Mac)
- 2 x plain white office papers / premium office papers / Navigator presentation papers (better quality)
- A basic inkjet printer
- A stationery knife cutter/blade
- A pair of scissors
- A cutting mat (A2 size preferably)
- A 30cm ruler
- Cellophane tape (optional)
- 1 x Laminator sheet (Fellowes brand)
- A laminator machine (Fellowes brand)
How to Make a Beautiful Prayer Card From a Prayer Printable
Step 1 – Print Your Free Prayer Printable
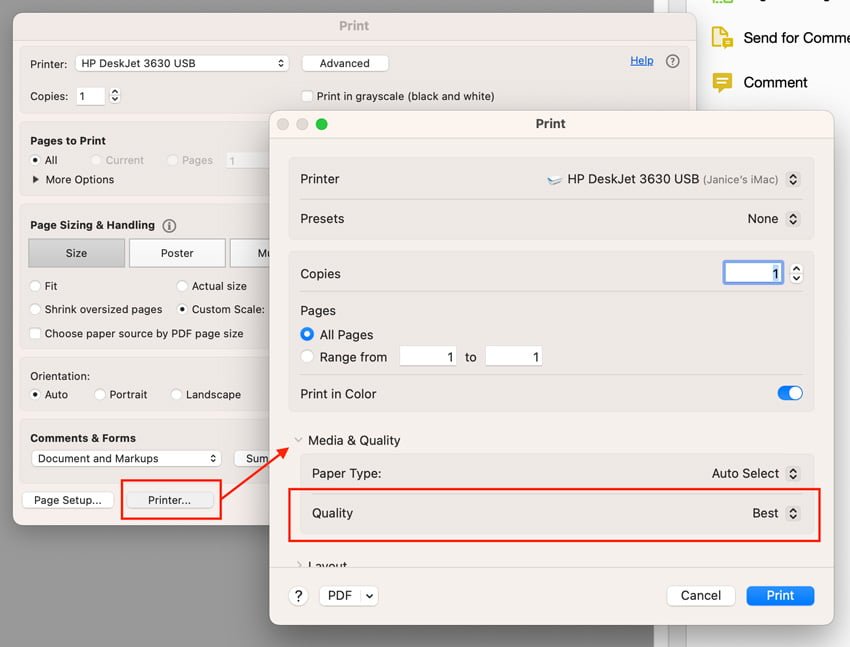
Once you’ve downloaded your prayer printable, open your printable in Adobe Reader or Acrobat. I’m using Acrobat. Make sure your plain office papers are already loaded into your inkjet printer. You can then print your printable using these settings below.
If your laminate sheet size is in A4 or US Letter sizes, make sure to scale down your print size to 90-95%. This is to leave some room for the edges of your prayer card, so there is room for you to cut and divide your laminated prayer cards.

Then go to your printer settings by clicking on Printer… > Print > Media & Quality > Set to “Best” (under Quality). Then click “Print”.
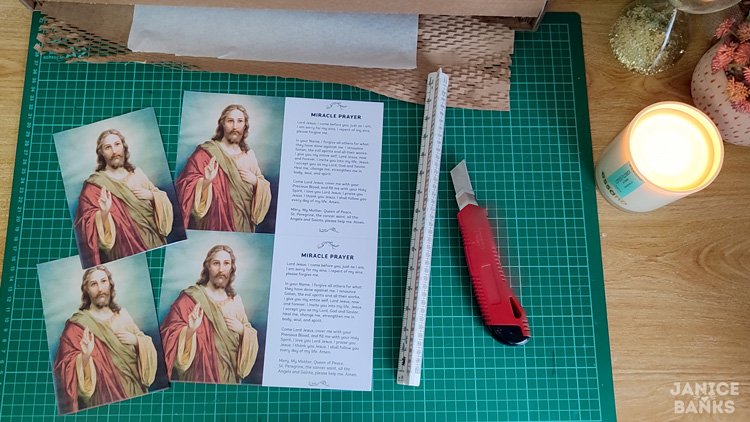
You may want to print 2 x copies, so you will get a total of 4 x prayer cards. These 4 x cards can fit into one laminate sheet.
If you don’t want to waste ink, just ignore this step. But if you want to gift the prayer cards to your family and friends, I recommend you leave the quality as “Best” so you will get the best quality print for your prayer cards.
Step 2 – Trim Your Prints
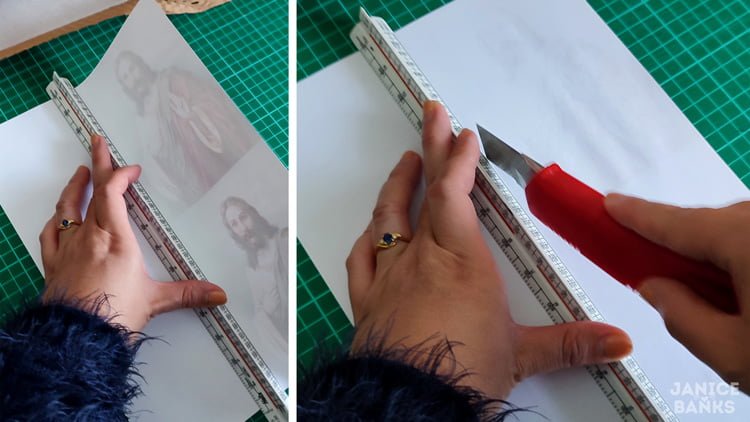
Once printed, trim the white edges of your prints using a ruler and a stationery knife.
Step 3 – Make Foldable Lines
Warning: Do not trim!!
Using the back of your stationery knife (it’s usually more blunt than the sharp part) and a ruler, go over the middle part lightly only once.

Then flip your print over. You can easily see the line at the back of the print. Again, using the back of your knife and a ruler, go lightly over the middle part again. Only once.
Step 4 – Trim and Fold Your Prayer Cards Into Half
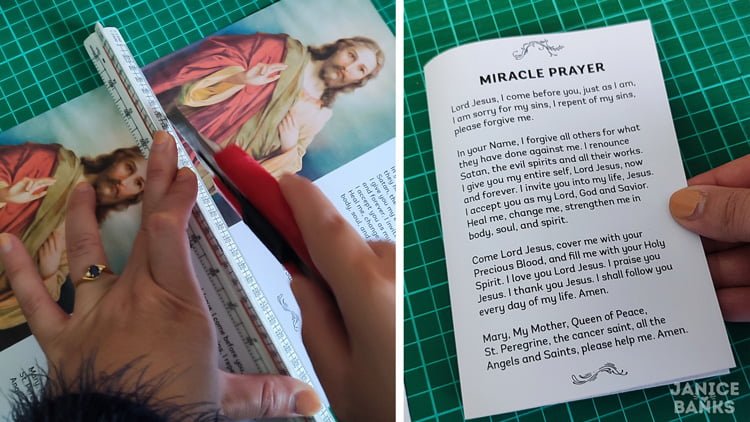
Trim the middle of your print (horizontally). Now you have two prayer cards. Fold them into half, so you will get a single prayer card (back and front). Gluing them together is not necessary. Repeat this step for the other print.
Step 5 – Turn On the Laminator Machine
Turn on the laminator machine. The red light indicates that its on. It will take a few minutes to heat up the machine. Once the machine is heated up, the top light will turn green.

Step 6 – Insert Prayer Cards Into the Laminator Sheet
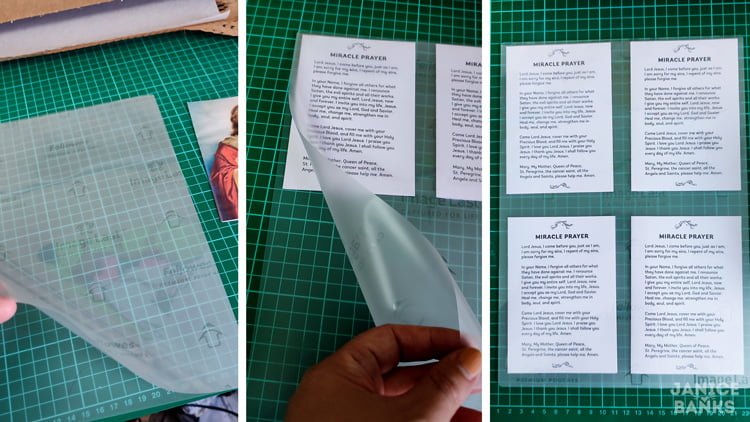
While waiting for the laminator machine to heat up, go ahead and insert the folded prayer cards into the laminator sheet. Make sure the frosted side is on top. The Jesus picture is the front and the Miracle prayer is the back. So make sure the prayer part is facing the top (where the frosted side is).
Arrange the cards as best as you can inside your laminator sheet. You may need to adjust them so they look aligned to one another.
Step 7 – Feed Through the Laminator Machine
Once the light turns green, the machine is heated up and ready to use.
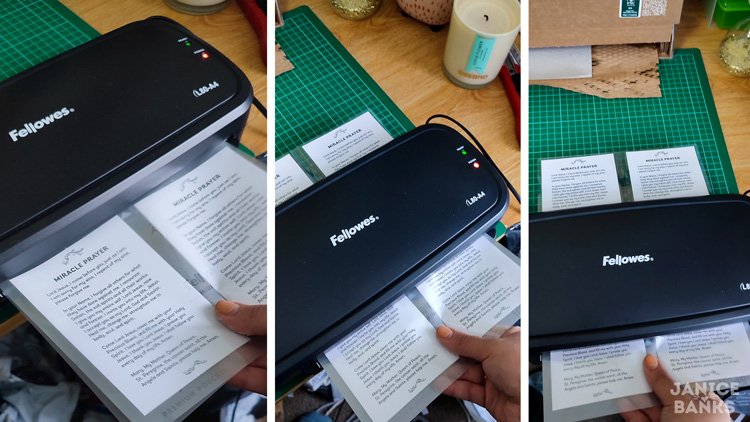
Using both hands, carefully and slowly feed the sheet through the laminator machine. It will automatically feed the sheet through the machine without much effort. Make sure you’re constantly holding the ends of the sheet, so that the cards do not fall off.

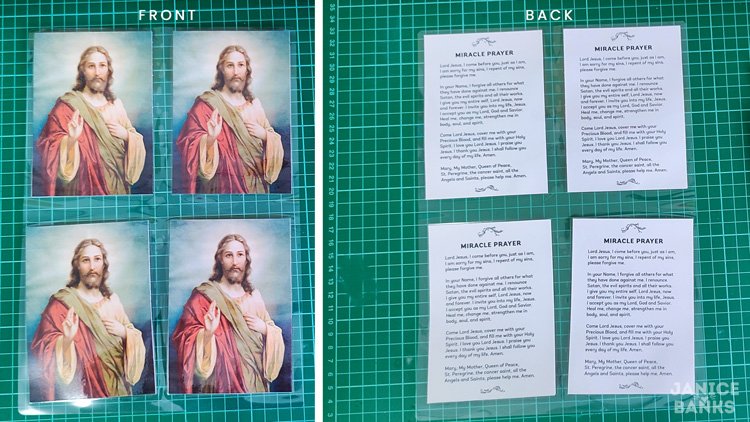
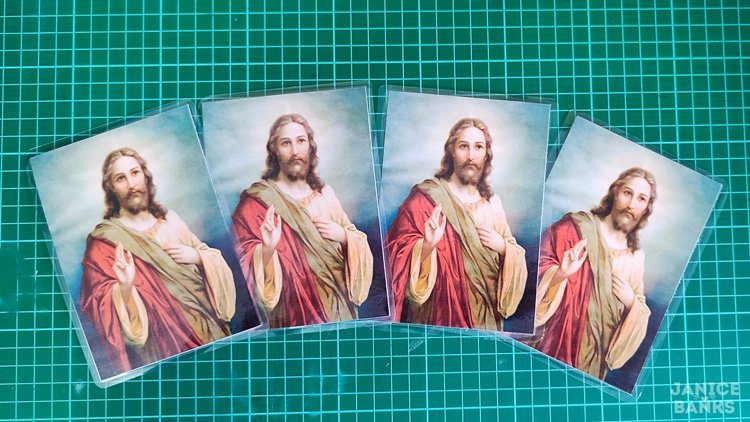
Step 8 – Once Laminated, It Should Look Something Like This
It’s not perfect. The first three cards look fine but the last one is a little crooked. Luckily there is a lot of space surrounding the cards which I can easily fix when trimming them. That is why I recommend to always scale down your prints to about 90-95% to leave the extra room in case of mistakes.
Step 9 – Trim Your Laminated Prayer Cards
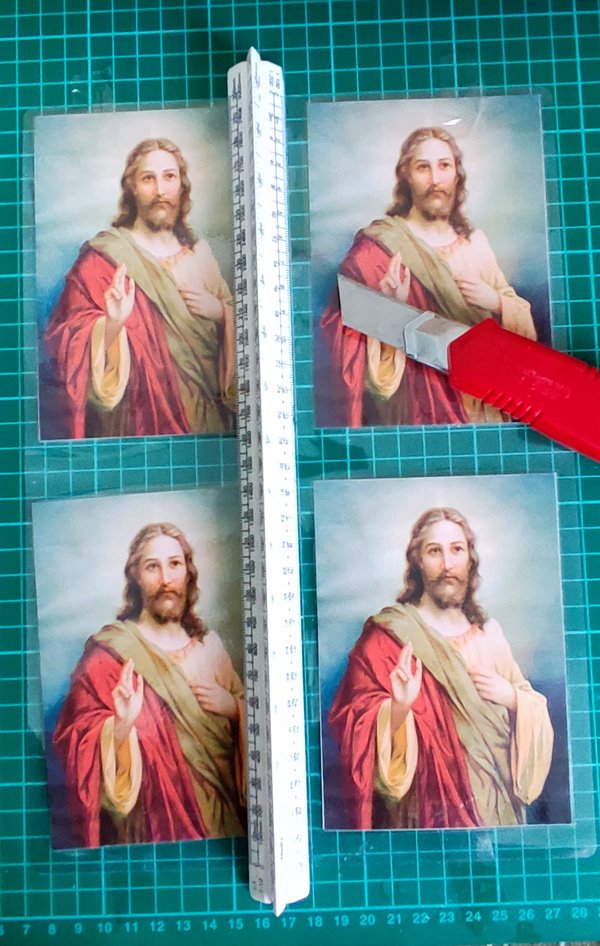
Make sure your knife is sharp. The laminated prayer cards can be a little slippery, though when trimming. So you may want to put some clear cellophane tape to hold it down, so it doesn’t move while you’re trimming the cards. Two tapes at the top and two at the bottom.
Step 10 – Give Them a Good Finish: Round the Edges of Your Cards
After trimming your cards, you might want to round the edges of your cards with a pair of scissors to give your prayer cards a good finish. It can be a bit tricky, though. Just do your best – it doesn’t have to look perfect.
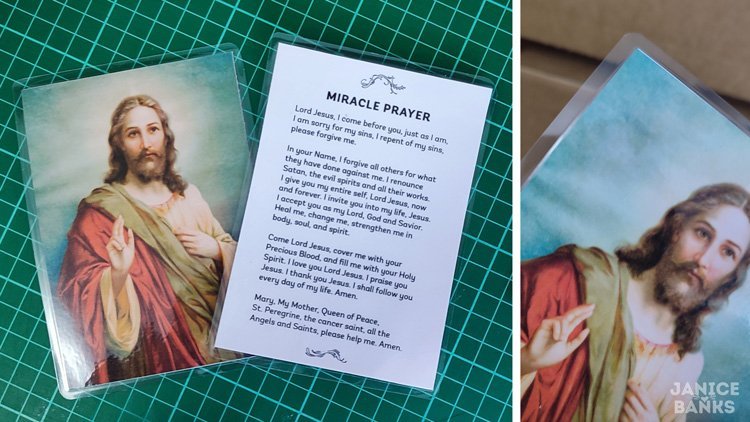
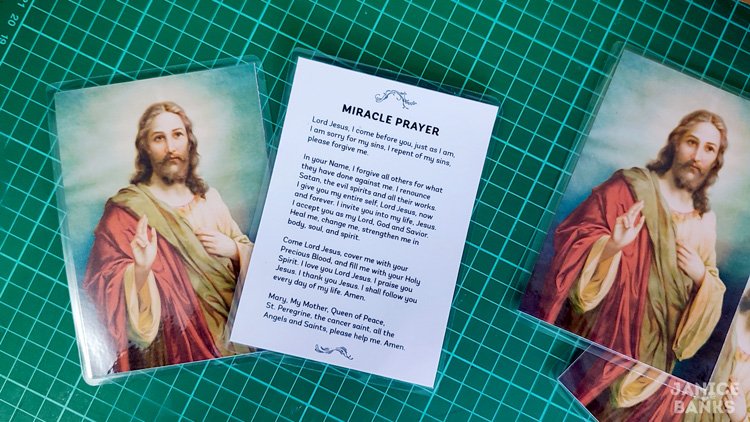
Step 11 – Get The Prayer Cards Blessed
This is optional. But it would be really nice to get your prayer cards blessed by a Catholic priest. And lastly, don’t forget to give them away to your family and friends!
Stay blessed everyone.
I hope you’ve found this tutorial helpful. If you like this prayer printable, check out our collection of other lovely prayers here.
Want more prayer printables for your family, click here.

Enjoy my tutorial? Would love the support!

Printables, design elements, graphics and any digital products provided on this site are for personal use only. You may NOT modify them or redistribute them for free or monetary gain without the written agreement from the author, Janice Banks. You may share these with your classes or co-workers (educators/teachers/tutors) as long as they are not modified in any way. Please share the link to the blog post if you want to share these digital resources with others.


Leave a Reply