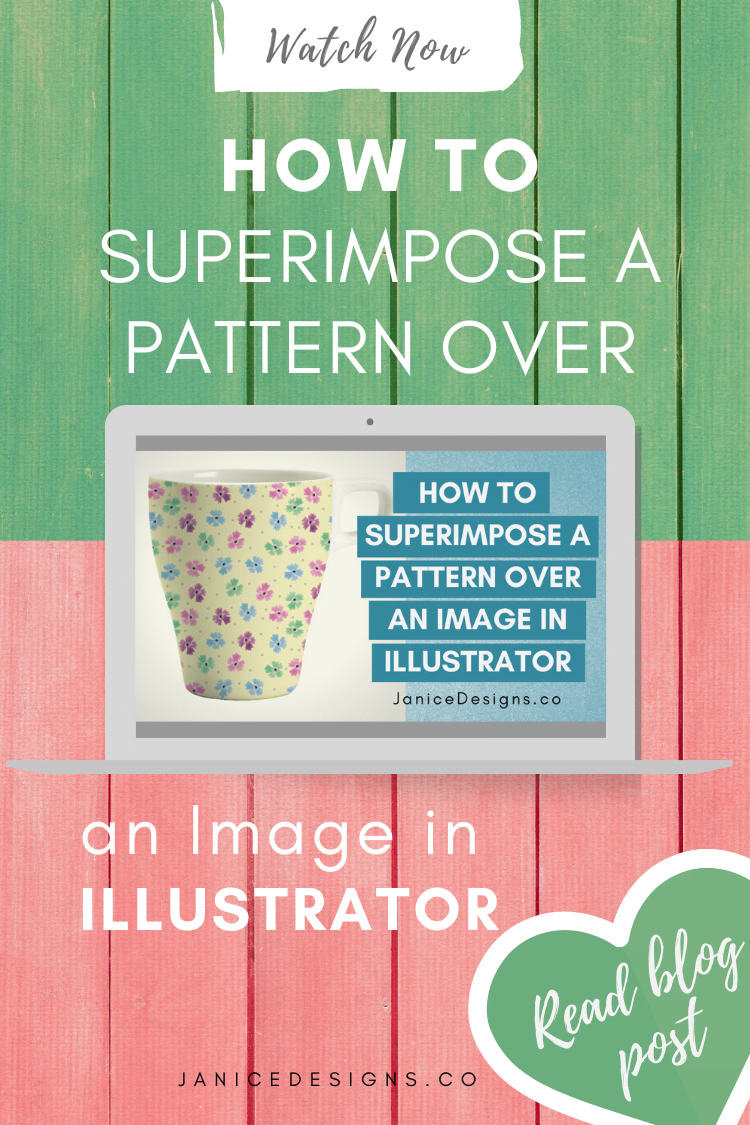
How to Superimpose a Pattern Over an Image in Illustrator
Download Your 30 Day Free Trial of Adobe Illustrator
Download Your Colourful Daisy Vector Pattern Here (Illustrator File)
Download Your Colourful Daisy Pattern Here (High Res Image 4000 x
Start Creating a Passive Income Using Illustrator
So why Illustrator? Well Adobe Illustrator is professional design software commonly used by graphic designers or other designers to create professional, beautiful artworks and designs for commercial or non commercial purposes. But if you do not have a Graphic Design degree but want to acquire the skills anyway.. my tutorials can help you learn the basics of Illustrator to create beautiful professional designs or graphics to be sold in the market place like Creative Market, Master bundles, Design Cuts and lots more..
And start creating a passive income for yourself!
So lets get into it!
- First, open your Illustrator program or if you are just getting started, you can purchase a plan or trial your free 30 Day here.
- Once you’ve installed and run the program, download your free vector pattern (Illustrator file) here and open it.
- Open your Swatches panel (right hand panel) and drag your vector pattern into it.
- Double-click the pattern (you’ve just dragged into the swatches panel) and un-tick ‘Move tile with art’. But make sure the ‘Size tile to Art’ is tick! Click ‘Done’ and the window will automatically close to bring you back to your main canvas. Your swatch pattern has now been created!
Now, you are ready to create your project!
- First, lets find an image you want to superimpose your pattern on. Click File > Place > (Find an image you want to superimpose your pattern on) > Click ‘Place‘
- We don’t want the image moving around so let’s lock it in place. Use keys Ctrl+2 (PC) or CMD+2 (Mac) to lock the image/object.
- Then create a path over the area you want your pattern to appear. Use the Pen tool (Shortcut for ‘P‘) and trace the area. It takes a bit of practice but once you get the hang of it, it’s easy as!
- Use the ‘Selection Tool’ (Shorcut for ‘V‘) to select the path you’ve just traced/created.
- Open the Swatches panel and click the pattern (you’ve dragged in previously) to fill in the path you’ve selected.
- Once the pattern is filled in, remove the stroke. Select the stroke and click the slash icon (None /).
And here’s the fun part!
- Make sure your path is selected again using the ‘Selection Tool’ or use shortcut key ‘V‘.
- Go to the Transparency Panel or if it’s not open, go to Windows > Transparency. Or just use the shortcut key Shift+Ctrl+F10
- In the Blending mode panel, on the dropdown menu click Multiply. Play around with the Opacity but I think 90% opacity would be perfect!
- If you’re not satisfied with the path, you can edit the path again to your liking.
To upload it on the web, follow these steps:
- Export as image (File > Export > Name your file and under Save as type: JPG or whatever suits you > Save.
- Under Image/JPG options > Color Model: RGB > Quality 7 and above > Resolution 72 DPI > Click ‘OK’.
- Your image is now saved! Or take a screenshot and upload it online!
There you have it!
A beautifully imposed pattern over an image in Illustrator :).

And here are just a few examples below on what objects you can superimpose your pattern on.

Remember to subscribe to my channel to follow my future tutorials!
I hope you’ve learned something and you like this tutorial. Do leave a comment below if you have any questions or suggestions so I can improve on my future tutorials.
“SUBSCRIBE TO JANICE DESIGNS YOUTUBE CHANNEL FOR FUTURE TUTORIALS”
If you like this free printable, you’ll love the Inspired Printables Club! If you want more printables like this, join the club!

Printables, design elements, graphics and any digital products provided on this site are for personal use only. You may NOT modify them or redistribute them for free or monetary gain without the written agreement from the author, Janice Banks. You may share these with your classes or co-workers (educators/teachers/tutors) as long as they are not modified in any way. Please share the link to the blog post if you want to share these digital resources with others.


Leave a Reply